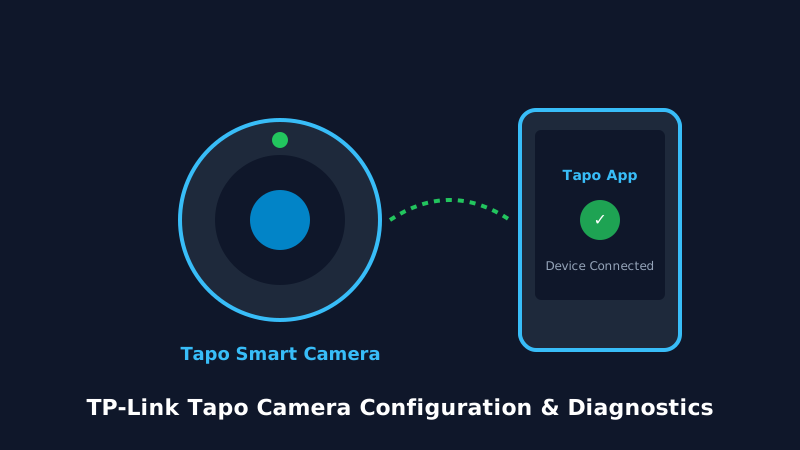
TP-Link Tapo smart security cameras represent one of the most popular home surveillance solutions globally. However, pairing failures, alternating amber and green LEDs, and SD initialization errors frequently baffle users. This technical walkthrough outlines exact pairing procedures, router configuration prerequisites, and firmware recovery steps.
Table of Contents
1. Pre-Configuration Checklist for Tapo Cameras
Before launching the Tapo companion application on iOS or Android, verify your home network parameters. Over 85% of Tapo initial connection errors stem from network configuration mismatches rather than camera hardware defects.
- 2.4 GHz Band Isolation: Tapo cameras (such as the C200, C100, C210, and C310 outdoor series) exclusively operate on the IEEE 802.11b/g/n 2.4 GHz frequency band. If your wireless gateway broadcasts a unified SSID combining 2.4 GHz and 5 GHz with automated band steering, temporarily disable 5 GHz or create a dedicated 2.4 GHz IoT network.
- Wireless Encryption Protocol: Ensure your router security standard is set to WPA2-PSK (AES). WPA3-only networks or enterprise 802.1X radius authentication will cause the Tapo Wi-Fi SoC to terminate the association handshake.
- Smartphone Location Permissions: Modern Android and iOS operating systems require precise location permissions enabled for the Tapo app to discover nearby Wi-Fi broadcast beacons.
2. Step-by-Step Tapo App Pairing Workflow
- Connect the supplied 9V DC power adapter and wait approximately 30 seconds until the system LED blinks alternating amber and green, indicating pairing mode readiness.
- Open the Tapo app, tap the + icon in the top right corner, and select your exact hardware variant.
- When prompted, navigate to your smartphone Wi-Fi settings and connect directly to the camera provisional AP broadcast (e.g., Tapo_Cam_XXXX). No password is required for this direct link.
- Return to the Tapo application. The app will initiate a local handshake and display all scanned 2.4 GHz access points. Select your home network and input the exact WPA2 pre-shared key.
- Assign the device to a designated room and complete the initial time-zone calibration.
3. Deciphering Tapo LED Status Indicator Codes
| LED Pattern | System State | Recommended Action |
|---|---|---|
| Solid Red | Booting up or internal system initialization | Wait 30-45 seconds for kernel load. |
| Blinking Amber & Green | Device in setup / pairing mode | Ready for mobile app discovery. |
| Slow Blinking Amber | Connecting to selected Wi-Fi network | Verifying network handshake. |
| Fast Blinking Amber | WiFi connection failed / Wrong password | Verify router password and 2.4GHz broadcast. |
| Solid Green | Connected to router and cloud servers active | Normal operating condition. |
| Slow Blinking Green | Connected to local Wi-Fi, no cloud access | Check router WAN internet uplink & DNS. |
4. Fixing 'Unable to Connect to WiFi' & Amber LED Errors
If your camera refuses to transition to a solid green LED and remains stuck in fast blinking amber, execute these remediation steps:
- Check Special Characters in Wi-Fi Password: Certain legacy firmware revisions experience parsing faults when passwords contain non-standard ASCII punctuation like brackets or quotes. Test with standard alphanumeric combinations.
- Adjust Router Wireless Channel: In crowded suburban spectrums, 2.4 GHz channel 6 is often congested. Log into your router administration portal and pin the channel to either 1 or 11 with a channel width locked to 20 MHz rather than 40 MHz.
- Hard Hardware Reset: Locate the physical reset button underneath the camera dome. While the camera is powered, press and hold the button with a pin for 10 to 12 seconds until the LED transitions to solid red. Allow the unit to reboot into pairing mode.
5. RTSP Local Streaming & ONVIF Account Activation
One of the finest architectural benefits of Tapo hardware is unrestricted local RTSP and ONVIF profile compatibility, allowing direct integration into VLC Player, Home Assistant, Synology Surveillance Station, or Blue Iris without cloud subscription lock-in.
- In the Tapo app, tap your camera → Device Settings (gear icon) → Advanced Settings.
- Select Camera Account and create a local username and secure password.
- Retrieve the camera local IPv4 address from your router client list (e.g.,
192.168.1.85). - Access the RTSP stream using port 554:
rtsp://username:password@192.168.1.85:554/stream1(for 1080p/2K main stream) or/stream2(for 360p sub-stream).
Frequently Asked Questions
Tapo cameras require high-endurance Class 10 / UHS-I cards formatted in FAT32 (cards up to 32GB) or exFAT (64GB to 512GB). Always format the card directly inside the Tapo App under Device Settings > MicroSD Card.
Yes. Once initially paired via cloud, if the internet uplink disconnects, the camera continues recording locally to the MicroSD card and streams over your local LAN via RTSP.