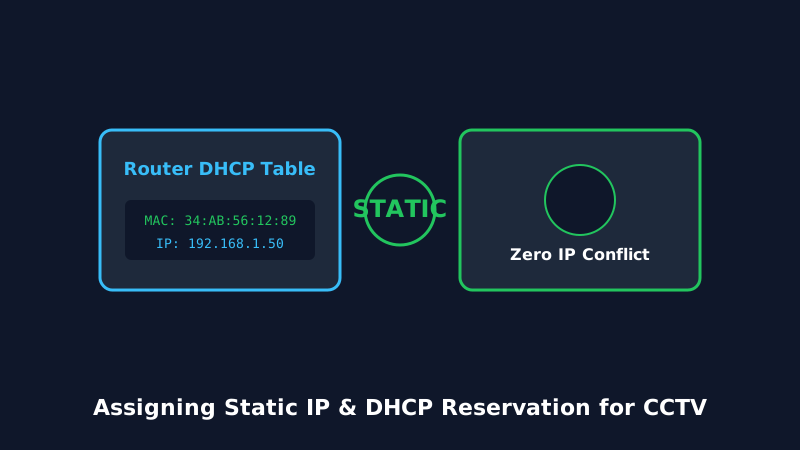
Few issues cause more intermittent camera offline errors than DHCP address conflicts. When a home router reboots after a power flicker, it frequently leases an existing camera's IP address to a laptop or smart TV, severing your camera live feed. Assigning persistent static IP addressing permanently solves this problem.
Table of Contents
1. Why Dynamic DHCP Causes Security Camera Dropouts
By default, home routers utilize Dynamic Host Configuration Protocol (DHCP) to lease temporary IP addresses to connected clients (typically for 24 hours). When a camera lease expires, the device negotiates a renewal. If the camera radio is momentarily dormant or the router encounters an ARP cache desync, the router may assign a different IP address.
This dynamic shuffling instantly breaks Network Video Recorders (NVRs), Home Assistant integrations, and desktop RTSP streams that are hard-coded to communicate with a specific IP address.
2. DHCP Reservation vs. Camera-Side Static IP
- Router-Side DHCP Reservation (Recommended): You instruct your central router to always reserve a specific IPv4 address for your camera physical hardware MAC address. The camera stays in DHCP mode, but always receives the exact same IP. If you ever replace your router, no manual camera factory resets are required.
- Camera-Side Static IP: You open the camera configuration menu and toggle network settings from 'DHCP' to 'Static', manually typing the IP, Subnet Mask, Gateway, and DNS servers. This is durable, but if you migrate to a router with a different subnet (e.g., from
192.168.1.1to192.168.0.1), the camera becomes completely inaccessible until factory reset.
3. Step-by-Step Router DHCP Reservation Procedure
- Retrieve the camera MAC address (a 12-character alphanumeric code such as
AC:84:C6:2B:11:44) from the companion app Device Info tab or from the barcode label printed on the camera casing. - Open a web browser on your computer and log into your router administrative gateway (commonly
192.168.1.1or192.168.0.1). - Navigate to the Advanced → Network → DHCP Server or LAN Setup tab.
- Locate the section labeled Address Reservation or Static Leases and click Add New.
- Input the camera MAC address, select an IP address outside your active dynamic DHCP pool range (for example,
192.168.1.50), and assign a friendly name (e.g., Front_Porch_Cam). - Save settings and reboot both your router and the camera. Verify on the client list that the camera holds the reserved address permanently.
Frequently Asked Questions
Use reliable public DNS servers such as Google DNS (8.8.8.8 and 8.8.4.4) or Cloudflare DNS (1.1.1.1) to ensure quick cloud server resolution.
No. An IP conflict will immediately take both devices offline. Every device must have a unique IPv4 address.